Color Coding Your Plans
Every plan in Pacemaker has a color. Once you're running more than one or two plans at a time, that color is how you tell them apart at a glance — on your calendar, on your timeline, and in your yearly plan, where several plans share the same view.
Assigning your own colors is a Lite and Pro feature. Pacemaker automatically picks the colors for Free accounts.
How colors are assigned
If you haven't chosen a color for a plan, Pacemaker generates one for it automatically. The generated color is stable: the same plan always gets the same color, so it won't shift around between visits.
With a Lite or Pro subscription you can replace that with any color you like.
Setting a plan's color
There are two places to change a color.
From your dashboard
- Go to your dashboard and open the Plans or Projects tab.
- Find the plan in the table. There's a narrow color column with a small swatch in it.
- Click the swatch to open the color picker.
- Choose a color.
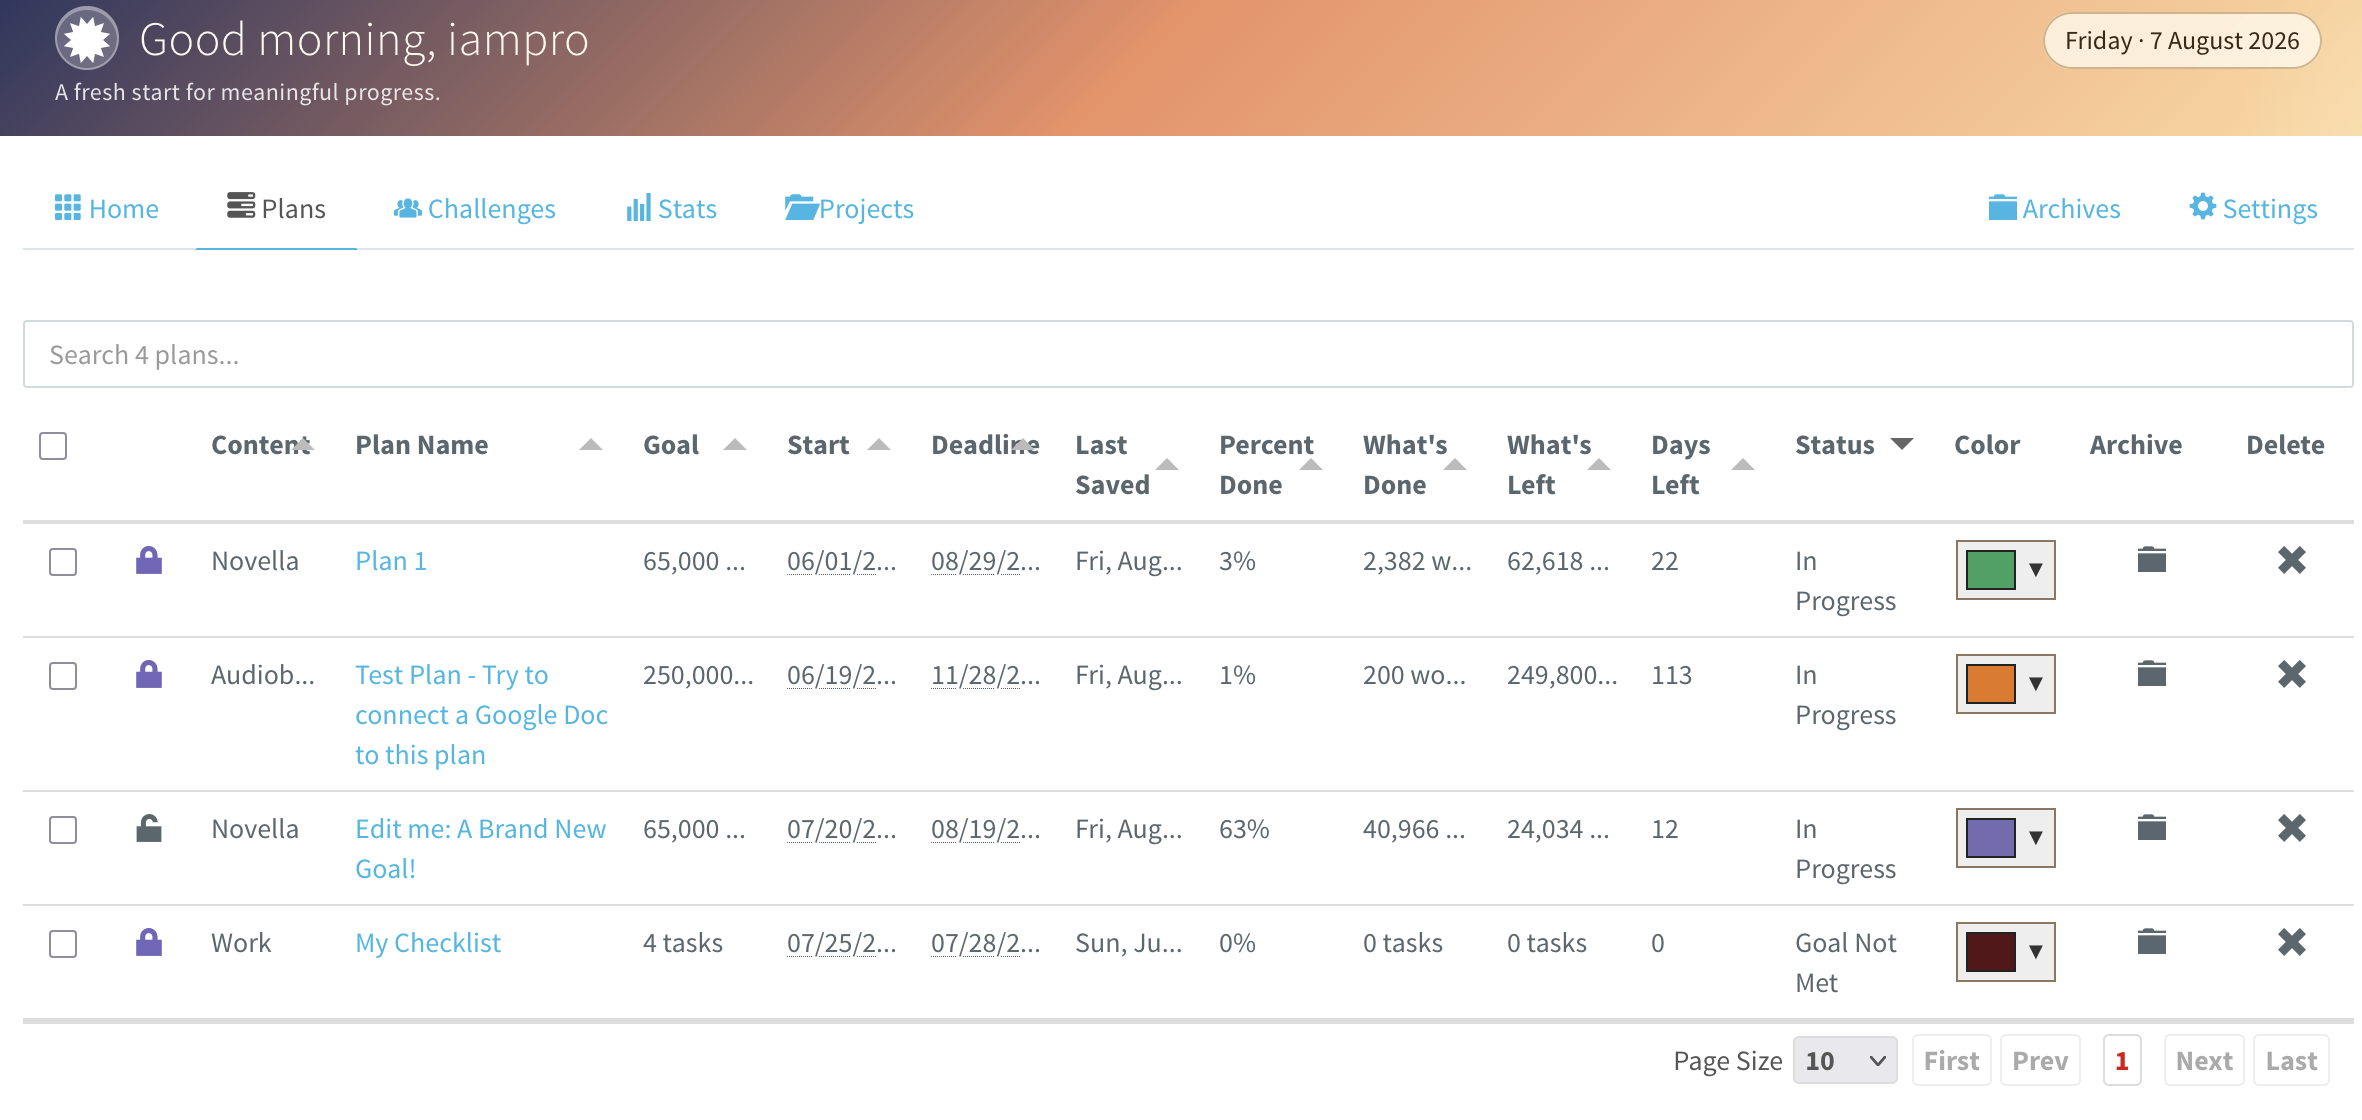
The change saves immediately and the new color appears everywhere that plan is shown.
From the calendar
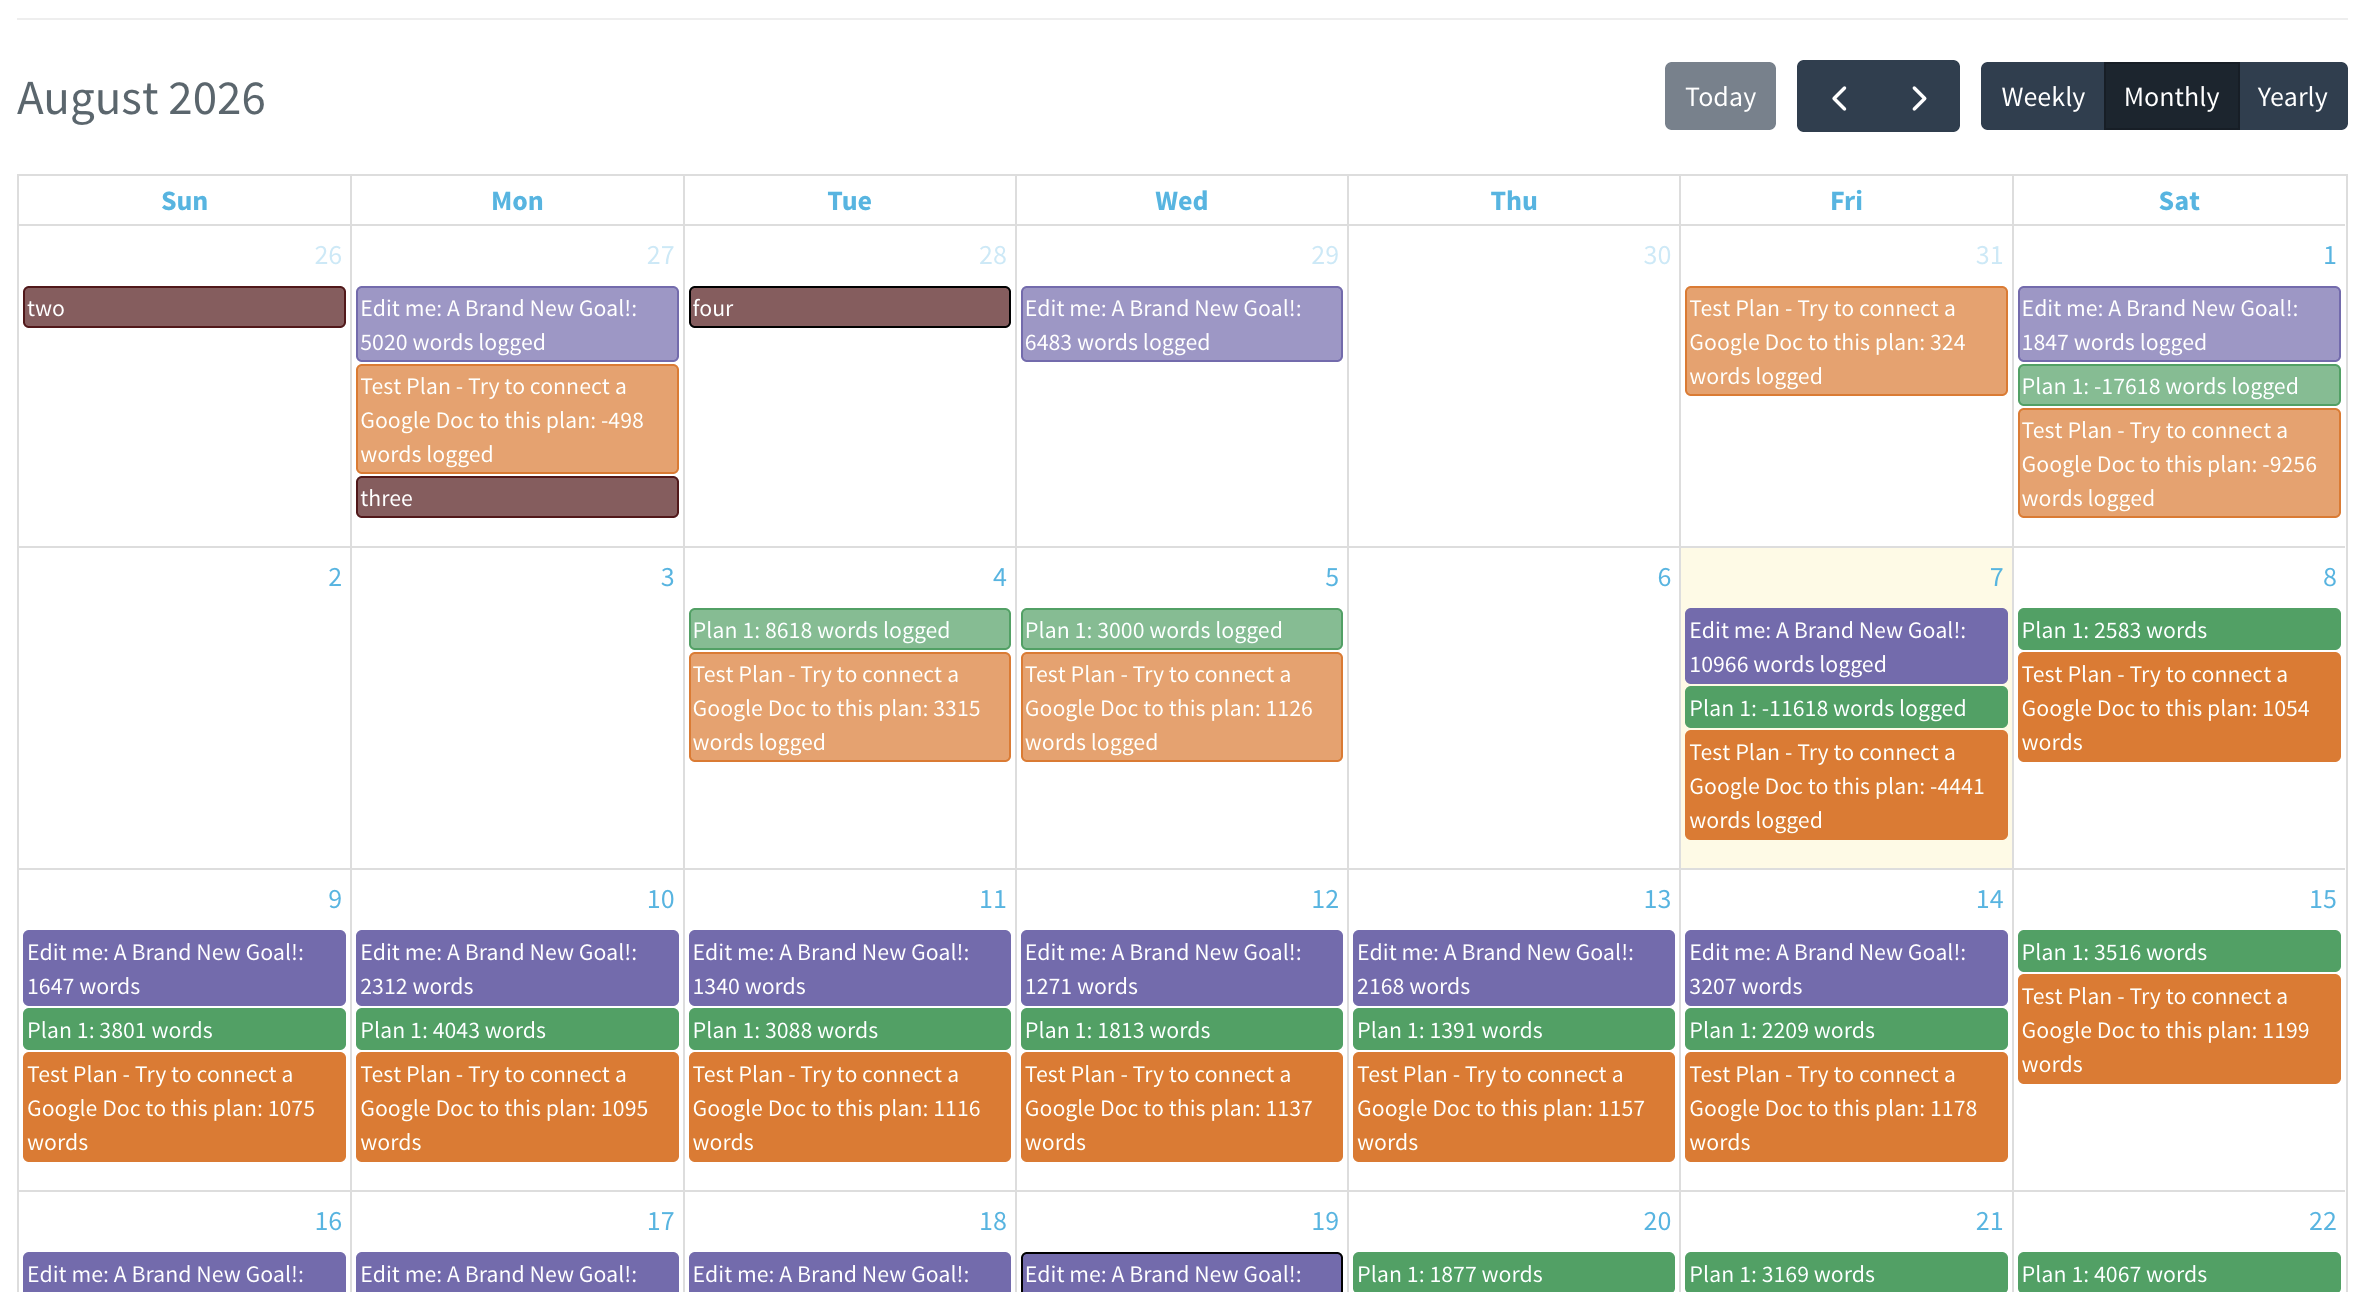
- Open your dashboard calendar and click any day belonging to the plan.
- In the Update Plan window, which is accessed by clicking Edit, use the Plan Color field in the Display panel.
- Click save.
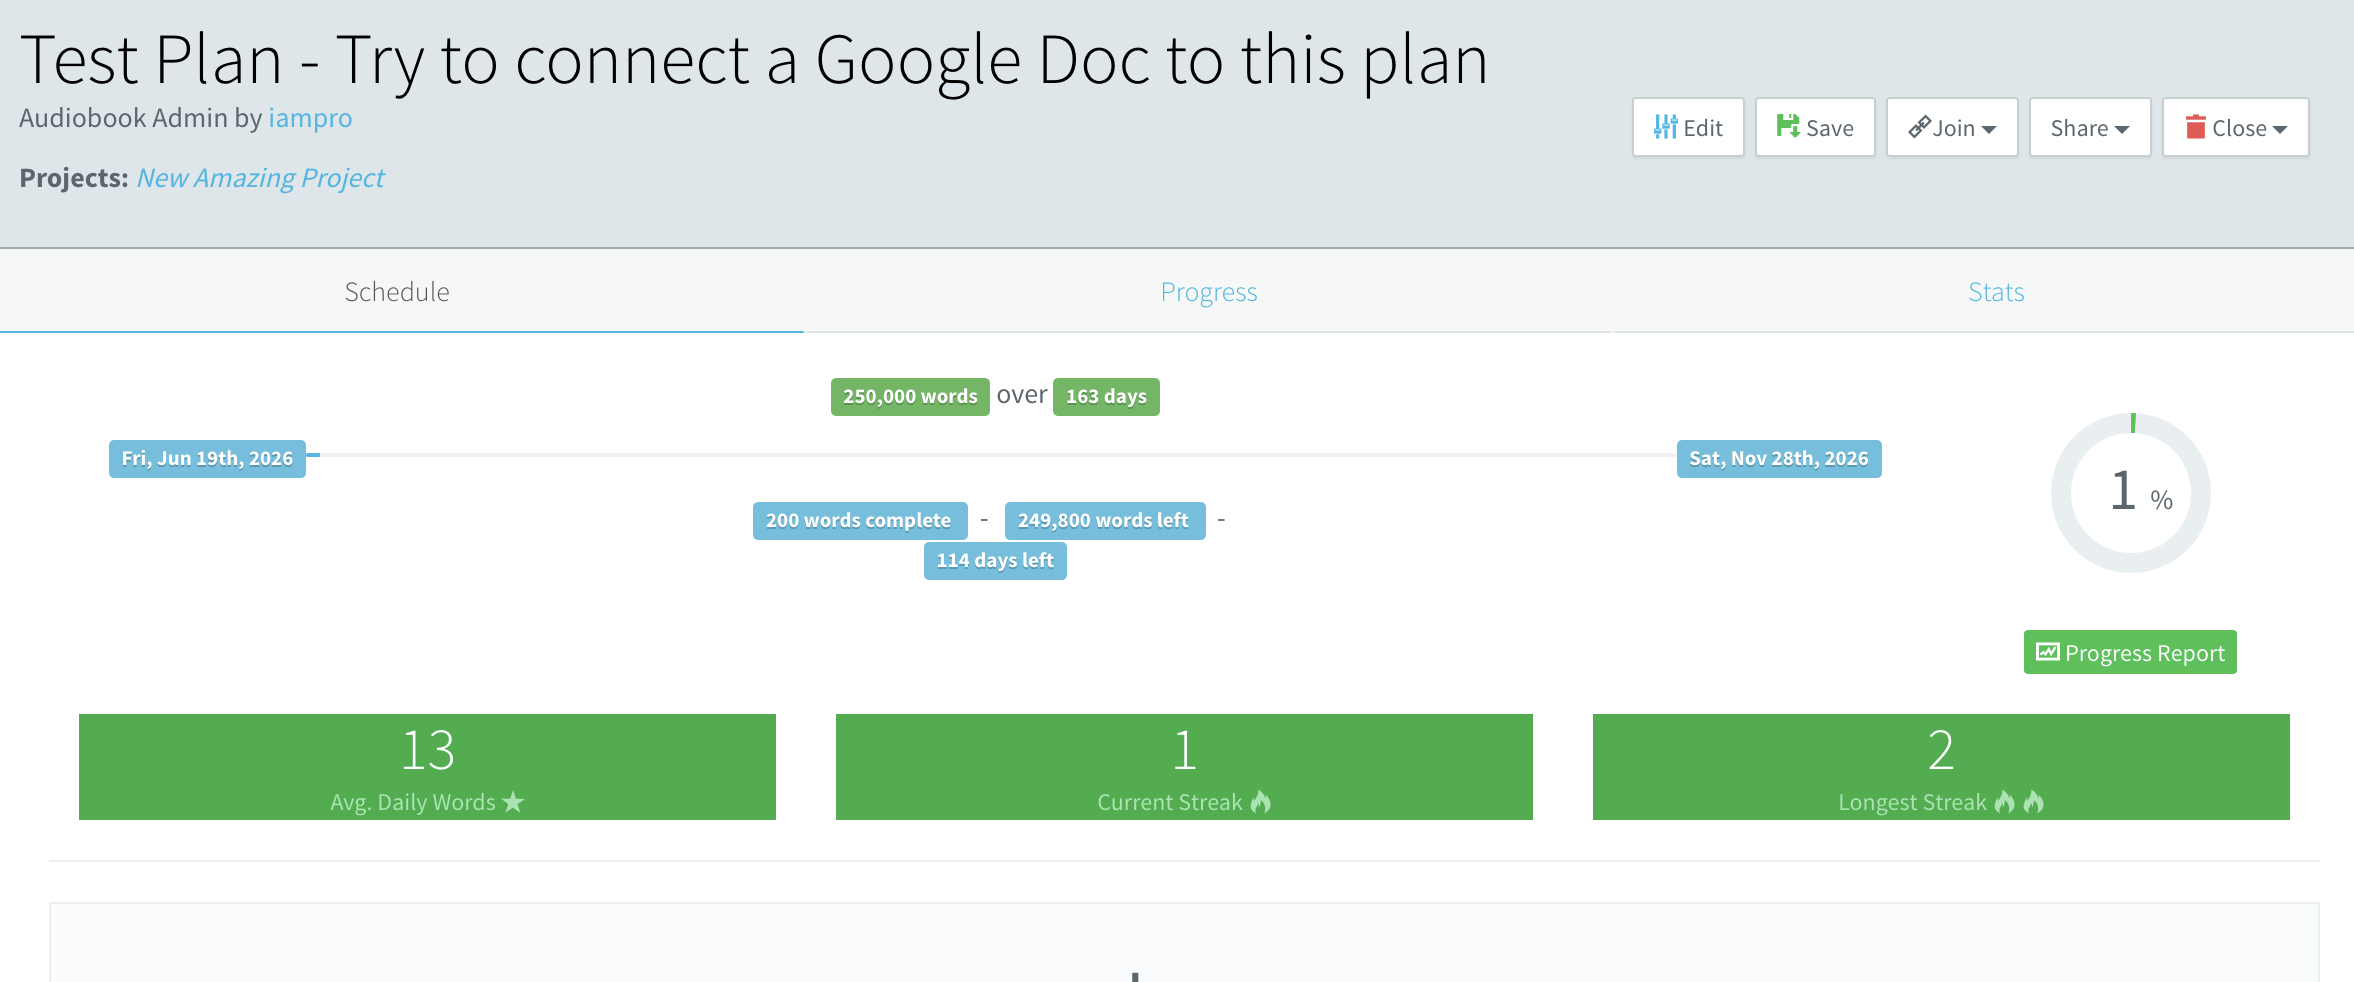
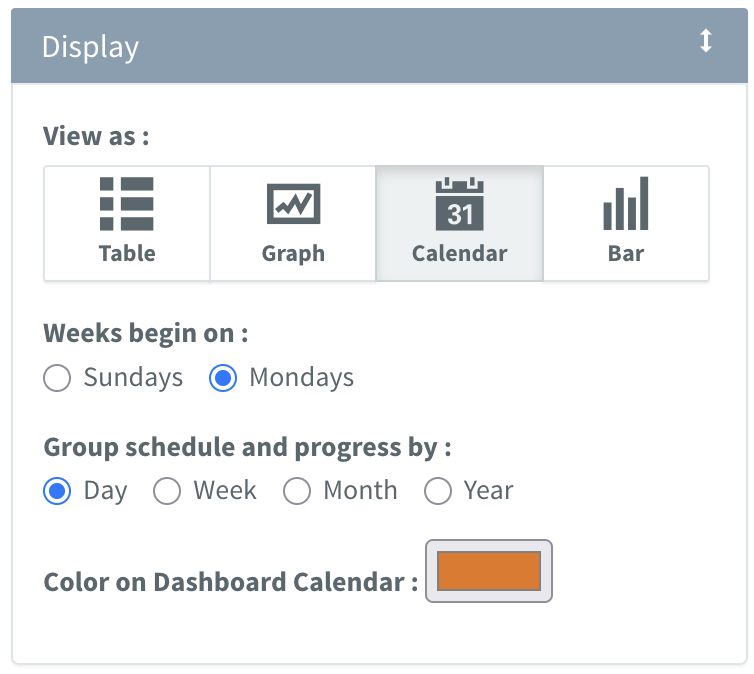
This window also lets you log progress for that day, so you can adjust a color and record your work in one step. If you change the color and don't touch the progress field, only the color is saved.
Where your colors show up
Setting a color once affects every view that shows more than one plan at a time:
- Your dashboard calendar — each day is marked in its plan's color, so a month with three plans running reads at a glance.
- The timeline view — plan bars are drawn in their own colors.
- Your yearly plan — both the year grid and the week view use plan colors to link scheduled work back to the plan it came from.
- Checklist calendars — a checklist plan's calendar uses its color.
- Your dashboard plan and project tables — the swatch you clicked to set the color.
Tips for choosing colors
- Color by project, not by plan. If you have three plans that all feed one book, giving them all the same color makes the book easy to pick out of a busy calendar.
- Color by kind of work. One color for drafting, another for revision, another for client work. Your calendar then shows you what sort of day tomorrow is, not just how much is on it.
- Reserve one loud color. Keep something high-contrast for whatever is most urgent, and use muted colors for everything else.
- Leave the automatic color alone for short plans. For a plan you'll finish in a week, the generated color is fine — save the deliberate choices for the plans you'll be looking at for months.